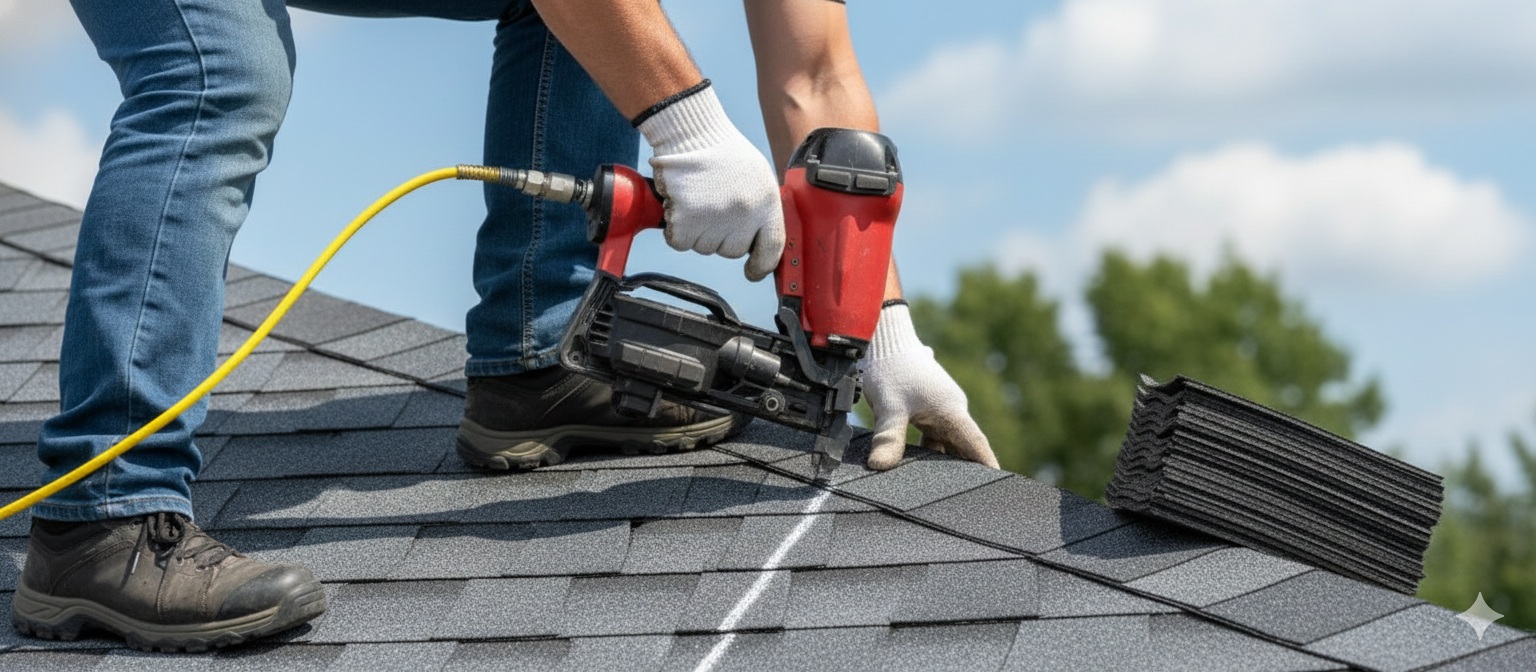
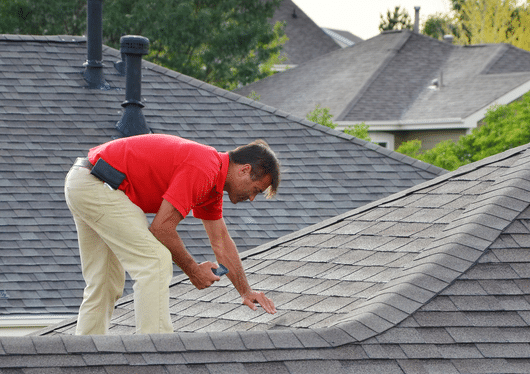
A roof inspection checklist helps you find common problems before they become costly repairs. Use it to check:
Inspect your roof at least once a year and after every major storm. If the roof is steep, difficult to access, or shows storm damage, a professional roof inspection can provide a safer, closer look. This guide walks you through each area so you know what to check, what signs to look for, and when to call a professional.
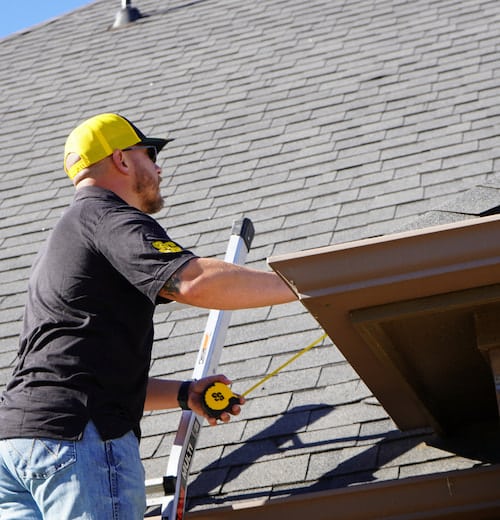
A checklist turns a vague sense that your roof looks fine into a repeatable process. It helps you catch small problems while they are still easy and affordable to fix. A lifted shingle or a cracked vent boot is a minor repair only if it has not soaked the decking and insulation. Routine roof maintenance between inspections can also help prevent small issues from becoming bigger problems.
Inspect your roof at least once a year, ideally in early fall or spring, and again after hail or high-wind storms. Roofs older than 15 years benefit from a second inspection each year.
A professional inspection typically costs $150 to $900, depending on the roof’s size, pitch, and type, while a full replacement runs roughly $5,860 to $13,150. These are ballpark figures that may change over time; confirm current local pricing.
Doing ground-level checks with binoculars and attic inspections with a flashlight are generally safe. However, it is highly recommended that you do not walk the roof yourself, especially on steep or multi-story roofs. Leave on-roof work to a professional.
This roof inspection checklist for homeowners covers the most common areas to check on an asphalt shingle roof. Start with a safe exterior inspection from the ground, then check the interior and attic for signs of damage or moisture.
Look for visible wear, storm damage, and moisture intrusion around the roof and supporting components. Check below for more details:
| Area | What to look for |
|---|---|
| Shingles | Missing, curled, cracked, or blistered shingles; heavy granule loss |
| Nails and ridge/hip caps | Popped or exposed nails, loose ridge, and hip caps |
| Flashing | Damaged or rusted flashing at walls, valleys, and roof-to-roof transitions |
| Drip edge | Loose, damaged, or missing metal along the roof edges |
| Penetrations | Cracked chimney mortar, deteriorated vent boots, worn skylight sealant |
| Underlayment | Exposed, damaged, or deteriorated underlayment where visible |
| Soffit and fascia | Cracks, rot, peeling paint, or gaps |
| Drainage | Clogged or sagging gutters and downspouts; improper shingle overhang |
Inside, use a flashlight to look for signs of moisture, damage, or poor ventilation. That should make the following easier to scrutinize:
| Area | What to look for |
|---|---|
| Ceilings | Water stains or discoloration, especially in upstairs rooms |
| Attic decking | Daylight through decking or sagging between rafters |
| Insulation | Damp or matted insulation, mold, or a musty smell |
| Attic ventilation | Blocked or damaged vents; poor airflow or excess moisture |
| Ice dams | Water stains or damaged roof edges indicating past or active ice dams |
Storm Guard’s free inspection documents these items with photos in a written report for repair planning or insurance claims. If the checklist reveals a concern, the next step is a professional roof inspection.
Metal roofs fail differently from shingles: fewer failure points, but each one can have a bigger impact. For standing-seam and metal-panel roofs, the key areas to inspect are fasteners, seams, panels, coatings, sealants, and flashing. Here’s a quick overview of how to go about it:
| Area | What to look for |
|---|---|
| Fasteners | Backed-out or missing screws, worn rubber washers at panel screws |
| Seams and panels | Seam separation, oil-canning, and panels lifted after high winds |
| Coating and corrosion | Chalking, faded or peeling finish, and rust where the protective coating has worn through |
| Sealant and flashing | Failed sealant at penetrations and transitions, and flashing at walls and curbs |
These problems can be difficult to spot from the ground. A single backed-out fastener or lifted seam can allow water to enter without obvious surface damage, making metal roofing worth a careful inspection. Storm Guard installs and inspects standing-seam and metal-panel systems, so our teams know which components to check and where problems commonly begin.
Flat and low-slope commercial roofs, including TPO, EPDM, and PVC membrane systems, have different inspection needs than steep-slope roofs. Use this commercial roof inspection checklist to focus on the membrane, drainage system, penetrations, and perimeter details where water can enter.
| Area | What to look for |
|---|---|
| Membrane | Punctures, blisters, shrinkage, and seam separation in the TPO, EPDM, or PVC |
| Ponding water | Standing water still present 48 hours after rain, a sign of drainage or slope problems |
| Drains and scuppers | Debris blocking drains and scuppers, and water not draining freely |
| Penetrations and pitch pans | Sealant condition around HVAC curbs, vents, and pipes |
| Perimeter | Flashing and coping secure, with no lifting or open laps |
Commercial property owners usually manage risk on a schedule rather than reacting to a leak, so a documented inspection cadence matters. Storm Guard handles commercial roofing inspections and can perform them regularly to ensure your business establishment is looked after.
This is the section that the other checklists leave out, and it is where storm restoration is Storm Guard’s core work. After hail or high winds, immediately documenting damage can help support an insurance claim.
Take dated photos, both wide shots and close-ups of:
Record the date of the storm and keep any local weather or hail reports, because an adjuster needs the damage tied to a specific event.
Insurance is built for sudden, accidental damage. Sudden wind or hail damage is usually covered, while wear from age or deferred maintenance usually is not.
However, coverage always depends on your policy and the adjuster, so no honest contractor can promise approval. What you can do is make the claim defensible: a professional inspection report with dated photos is a good first step to get your adjuster going.
This is where Storm Guard comes in. While we cannot negotiate with your insurance provider, our team can perform a professional roof inspection. We document what we find in accordance with most insurance companies’ standards to help strengthen your claim.
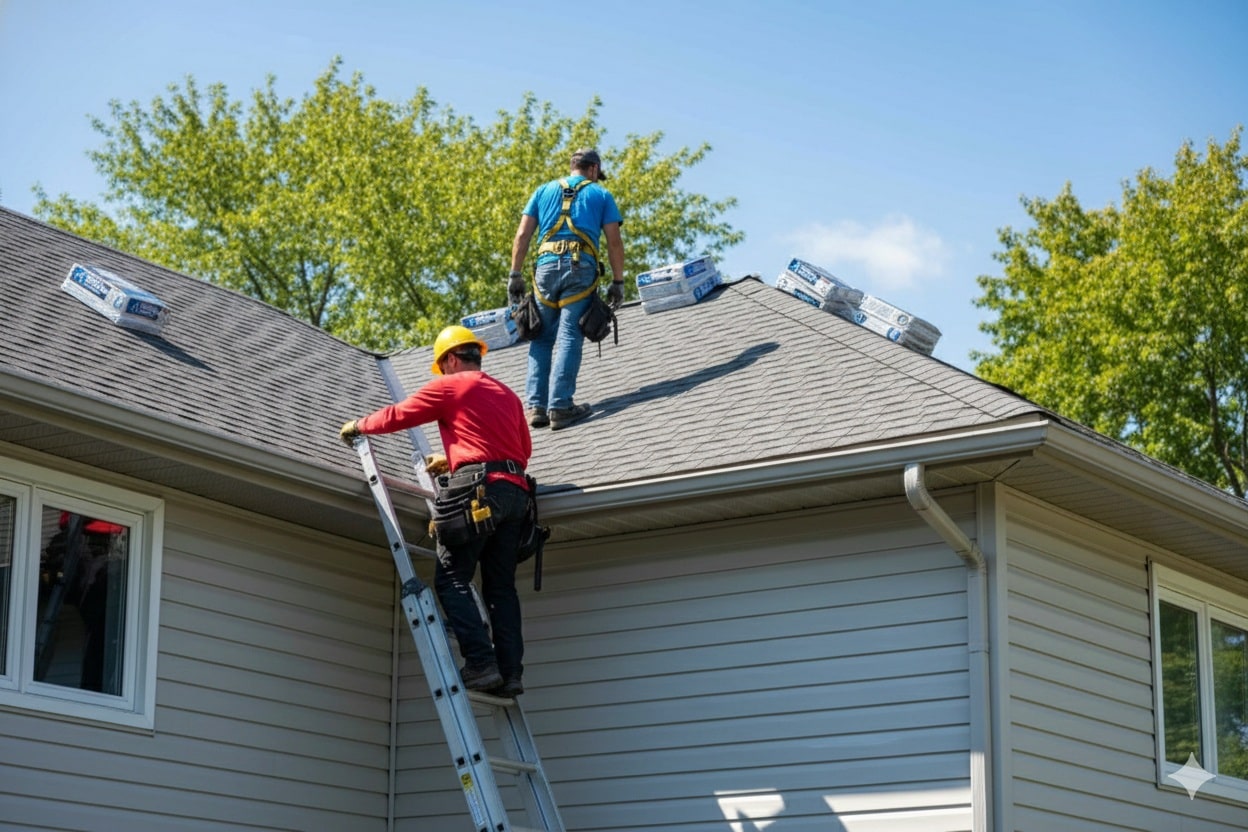
Some inspections are a homeowner’s job, and some are not. Call a pro if your roof is:
A professional inspection covers the roof surface, flashing, penetrations, gutters, the attic, and the decking, and concludes with a written report and photos. On commercial and flat roofs, it adds the membrane seams, roof drains, and a ponding check.
Storm Guard offers a free, no-obligation inspection through its local office. Because many repairs, especially storm-related ones, may be covered by insurance, an inspection often costs you nothing. Contact Storm Guard today for a free roof inspection.
Inspect your roof at least once a year and after major hail or high-wind storms. Roofs over 15 years old may benefit from twice-yearly checks.
A professional inspection typically costs $150 to $900, depending on roof size, pitch, and type. Storm Guard may offer free inspections after storm damage.
Yes, inspect safely from the ground or attic, but do not walk on the roof. Leave that to professionals.
Watch for missing or curled shingles, granules in the gutters, ceiling stains, daylight in the attic, sagging, or storm damage.
Most policies cover sudden wind or hail damage, but not normal wear and tear. Storm Guard can document damage for your claim.
Inspections typically cover the roof surface, flashing, penetrations, gutters, attic, and decking, with photos and a written report.




Unless otherwise noted, each use of "Storm Guard," “us,” “we,” or “our” throughout Stormguardrc.com collectively refers to both the Storm Guard brand and the Storm Guard Franchise System, which is made up almost exclusively of independently owned and operated franchise locations.