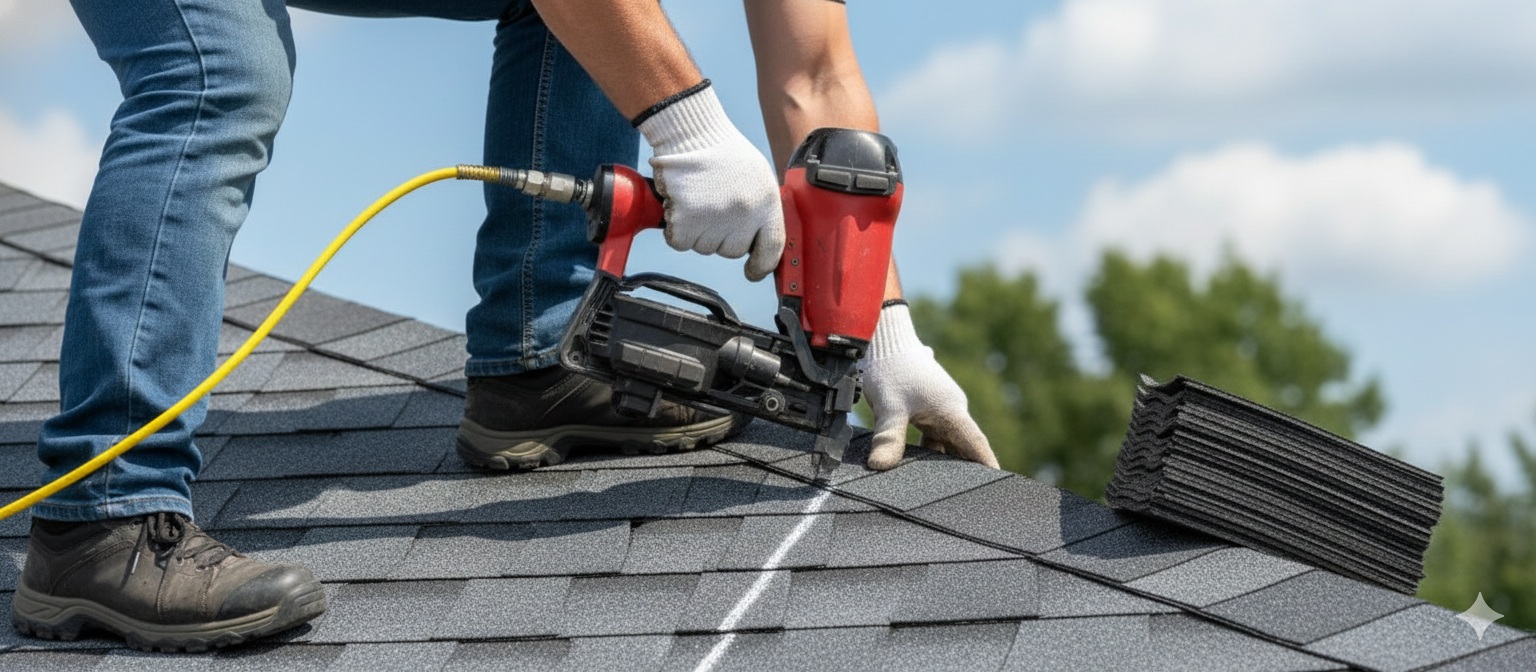

A good roof sealant can slow or stop a leak for now, but it is a temporary measure rather than a full repair. The right product choice depends on the situation: flashing tape or roofing cement may help with a small patch in dry weather, while elastomeric or silicone coatings can cover broader surface leaks on a low‑slope roof.
If water is actively coming in or the leak started after a storm, it’s wise to photograph the area and get an inspection before applying any sealant.
Storm Guard inspects and repairs roofs across a national franchise network, and one mistake shows up after almost every storm: a homeowner seals over damage that really needed a repair, or that their insurer never had a chance to document.
This guide covers how urgent your leak may be, what you can do tonight to limit damage, which of the 10 sealant types fit different roof situations, and when it’s time to call for professional roof leak repair.
A roof leak is an emergency when water is reaching electrical fixtures, the ceiling is sagging or bulging, or the wet area is spreading fast. A small, stable stain that only appears in heavy rain may not be urgent, but it still needs attention within days, not months.
Treat the leak as urgent if you see any of the following:
Any of these situations implies a roofing emergency. Shut off power to the affected circuits, contain the water, and contact a professional as soon as possible.
Water rarely stays where you first see it. By the time a stain shows on the ceiling, it has usually soaked through the underlayment, decking, and attic insulation on its way down. Wet insulation loses effectiveness, wood framing begins to rot, and drywall softens.
Mold is a bigger risk. The CDC advises cleaning and drying out a home fully within 24 to 48 hours after water damage to limit mold growth. A roof leak that soaks insulation and drywall every time it rains creates the same conditions, over and over.
Electrical hazards grow, too. Water that reaches ceiling boxes, attic wiring, or recessed lights can cause short circuits or create shock risks, which is why power should be turned off first.
The cost climbs with every storm. A leak that might have needed only a resealed pipe boot can escalate into repairs that include new decking, insulation, drywall, and mold remediation. If the leak started after a storm, there’s one more reason not to wait: photograph the damage and have it inspected promptly so it can be tied to the storm date for insurance.
The fastest way to stop roof leak damage is to work from the inside first: contain the water, protect your belongings, and cut power to wet areas. Only go outside if the roof is dry, the pitch is walkable, and someone is with you.
If the roof is dry and accessible, a heavy-duty tarp is often the best temporary cover. Run it from below the damaged area up and over the ridge so water sheds over the top of it, not underneath. Anchor the edges with boards fastened along the perimeter rather than loose bricks that can slide off in the wind.
Keep receipts for tarps, buckets, and other materials. Ask your insurer whether temporary repair costs are covered under your policy.
Temporary fixes go wrong in predictable ways. Avoid these common mistakes:
Roof sealants come in many forms, and each is built for a different kind of problem. This comparison lays out 10 of the most common options, showing where each works best, what surfaces they fit, and the limits to keep in mind.
These three product families address different problems:
| Sealant type | Where it Works Best | Surfaces | Patch or coating | Limits |
|---|---|---|---|---|
| Silicone roof coating | Ponding water and broad leaks on flat roofs | Flat and low-slope, metal, single-ply | Coating | Higher cost; few products stick to cured silicone later |
| Elastomeric acrylic coating | Broad surface leaks, UV, and heat reflection | Low-slope, metal, some sloped roofs | Coating | Breaks down under standing water |
| Polyurethane sealant | Joints and seams that expand and contract | Metal, concrete, flashing transitions | Patch | Lower UV resistance; strong odor while curing |
| Roofing cement or wet patch | Lifted shingles, flashing edges, small holes | Asphalt shingles, built-up and modified bitumen | Patch | Can crack with age; messy to apply |
| Clear rubber sealant (e.g., Sashco Through the Roof) | Cracks and repairs where appearance matters | Shingle, metal, flashing, mixed materials | Patch | Small areas only |
| Peel-and-stick flashing tape (e.g., EternaBond) | Seams, vents, skylight edges, small punctures | Metal, membrane, flashing | Patch | Needs a clean, smooth surface to bond |
| Rubberized spray sealant | Hairline cracks and pinholes | Metal, flashing, gutters | Patch | Thin film; not for large gaps |
| Liquid rubber | Full-surface waterproofing of older flat roofs | Flat, low-slope, metal, concrete | Coating | Pricier; cure time varies with weather |
| Tube roof caulk | Small gaps around fasteners and penetrations | Most roof materials | Patch | Needs regular inspection and reapplication |
| Self-leveling sealant | Horizontal joints and around rooftop equipment | Flat roofs, concrete, metal | Patch | Flows downhill, not for sloped surfaces |
A few general rules apply across the table:
Sealants buy time. None of them correct flashing that has pulled away from a wall, a cracked valley, a failed underlayment, rotted decking, or shingles broken or bruised by hail. They also don’t restore a roof that has reached the end of its life.
There is a warranty question, too. Some shingle manufacturers limit coverage when non-approved products are applied. Always check your warranty before coating a newer roof.
Sealing a roof leak means finding the true entry point, waiting for dry weather, cleaning the area, applying the right product, and checking the repair after the next rain. Most leaks can be patched, but the fix has to address the cause, not just the stain on the ceiling.
After the next heavy rain, return to the attic with a flashlight. A dry deck means the patch is holding. A fresh stain, even a small one, suggests water is still entering, often from a second entry point uphill.
Some leaks need more than a tube of sealant. A patch may fail if:
A professional inspection can uncover hidden entry points that surface fixes miss. Storm Guard’s roof repair service replaces failed boots, flashing, and shingles at the source so the leak does not come back with the next storm.
Roof leak repair costs vary depending on where the water is entering, how difficult that spot is to access, and how much damage the water has already caused. A simple resealed vent and a leak that has rotted decking are very different jobs.
A tube of sealant, a roll of flashing tape, or a tarp costs far less than a professional repair, which is why DIY is tempting. The catch is that the product only treats the symptom. A professional repair fixes the entry point, replaces damaged materials, and is backed by the contractor’s workmanship terms.
The most expensive outcome is a leak left too long. Once water reaches insulation, framing, and drywall, the bill includes interior repairs and possibly mold remediation on top of the roof work.
A single leak in a roof with years of life left is usually worth repairing. Several leaks in one season, widespread granule loss, curling shingles, or a roof near the end of its rated life point the other way. At that stage, each repair buys less time, and an inspection report showing the overall condition helps you compare the two options on real numbers.
If repairs keep stacking up, compare them against your roof replacement cost. Cause matters financially, too. If a storm caused the leak, your homeowners’ policy may cover part of the repair. Check your own policy with your insurer.
A storm-caused leak should be documented before it is sealed, while a maintenance leak can usually be repaired right away. Knowing which one you have changes what you do next.
Maintenance leaks develop gradually as materials wear out: dried-out sealant, cracked pipe boots, clogged valleys, and aging flashing. They tend to show up slowly and in one spot.
Storm-caused leaks follow a specific event, such as wind-lifted or creased shingles, hail bruising, or impact from a falling limb, and the damage is often spread across several roof slopes.
If your leak appeared right after a storm, it may be storm‑related. Reviewing guides on storm damage roof repair and the signs of hail damage on a roof can help you understand what to look for before scheduling an inspection.
Most of this belongs on a routine roof maintenance schedule, which catches small problems before heavy rain finds them.
When a leak follows a storm, documentation matters. Photograph the roof (from the ground if needed), the attic, and every interior stain before any sealant or patch goes on. Write down the storm date. Keep receipts for tarps and emergency supplies. Then, contact your insurer to ask about your coverage and claim deadlines, since terms vary by policy.
Sealing over storm damage before it is documented can make it harder to show your insurer what happened. A Storm Guard inspection gives you a written report with dated photos you can share with your insurer, and our team can meet the adjuster on site to walk through the damage.
It is an emergency when water is near electrical fixtures, the ceiling is sagging, or the leak is spreading fast. In that case, cut power to the area, contain the water, and call a professional. A slow, isolated stain in dry weather can be scheduled, but do not leave it for long.
Not long. The CDC advises drying water-damaged areas within 24 to 48 hours after flooding to limit mold, and every rain adds damage to insulation, drywall, and framing. Even a small leak should be contained right away and repaired within days to avoid higher costs.
No single sealant is best; match it to the leak. Use roofing cement or flashing tape for a small shingle or flashing patch, a silicone or elastomeric coating for broad leaks on flat or low-slope roofs, and polyurethane for joints that move. Nearly all require a clean, dry surface.
Usually not. Sealant is a temporary measure. A lasting fix corrects the cause, such as failed flashing, a cracked valley, a worn pipe boot, or storm damage. Sealant over a symptom tends to fail again, often at the next heavy rain, so plan a proper repair.
It depends on the cause and your policy. Leaks from a sudden event, such as wind or hail, are often covered, while leaks from age or wear usually are not. Photograph the damage before sealing anything, note the storm date, and confirm coverage with your insurer.
Most sealants and coatings will not bond to a wet surface and will peel or trap moisture. A few patch products are labeled for damp use, so check the label. Otherwise, contain the leak inside, use a tarp if it is safe, and seal once the roof dries.
A sealant can keep you dry for now, but a lasting fix starts with finding out why the roof is leaking and whether a storm caused it. Storm Guard inspects the whole roof, documents what we find with photos, and repairs the source so the leak does not return.
Schedule an inspection today! Find the Storm Guard team that serves your area through our locations page.




Unless otherwise noted, each use of "Storm Guard," “us,” “we,” or “our” throughout Stormguardrc.com collectively refers to both the Storm Guard brand and the Storm Guard Franchise System, which is made up almost exclusively of independently owned and operated franchise locations.