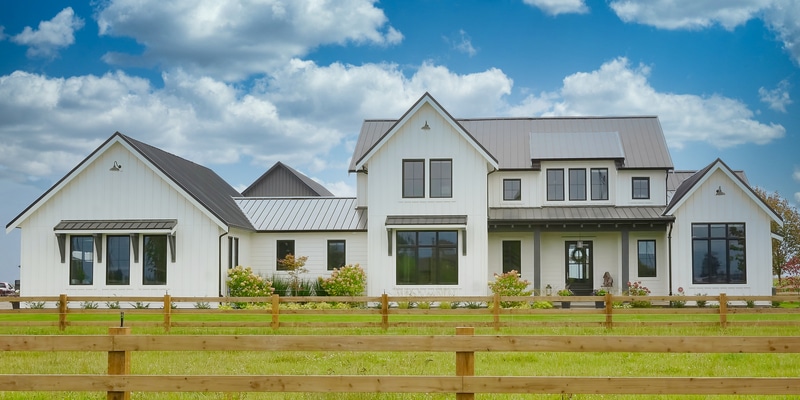
A well-executed house exterior paint job not only boosts your property’s curb appeal but also protects against the harsh elements. But how can you keep a smooth, long-lasting house paint even in scorching summers and freezing winters?
Proper preparation is central to a lasting exterior painting, regardless of the season. In this guide, we’ll walk you through the essential steps on how to prepare your home’s exterior for painting like a pro.
A good paint job is a significant investment in your home’s appearance and durability. However, homeowners often overlook the necessary prep process. Here’s why exterior painting preparation is essential.
Prep work extends the life of your paint job, ensuring your exterior paint looks great for many years to come. When the surfaces of your home are adequately primed, the paint adheres significantly better, reducing the likelihood of peeling paint, cracking, and premature fading.
When paint adheres well to the surface, you can say goodbye to frequent repaints or touch-ups after a fresh coat, saving money on maintenance costs and enjoying a beautifully painted home that retains its fresh look for many years.
By doing the necessary prep work, you’ll be able to achieve a durable finish that lasts, saving you time and money on future repainting projects.
Now that we’ve covered why prep work is necessary, it’s time to get started on the actual preparation process. Here are the steps for painting preparation, along with valuable exterior painting tips for homeowners.
Before applying paint, inspect your home’s exterior surfaces for signs of damage or wear. Carefully examine your home and check for cracked or rotting siding boards, damaged or loose fascia boards, gaps between siding and trim, and water stains.
Once identified, replace or repair the damaged areas before proceeding to the next step.
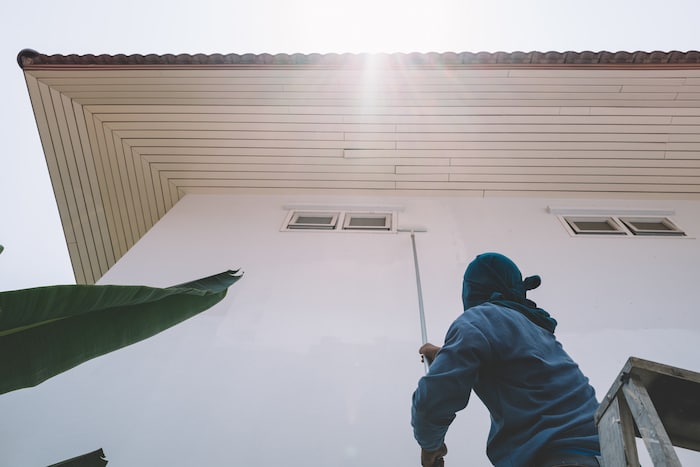
After the inspection and repairs, it’s time for a cleaning. Mold, grime, dirt, and old paint residue can interfere with the paint adhesion, leading to flaking exterior paint. Utilize pressure washing and a safe cleaning agent to ensure a thorough cleaning.
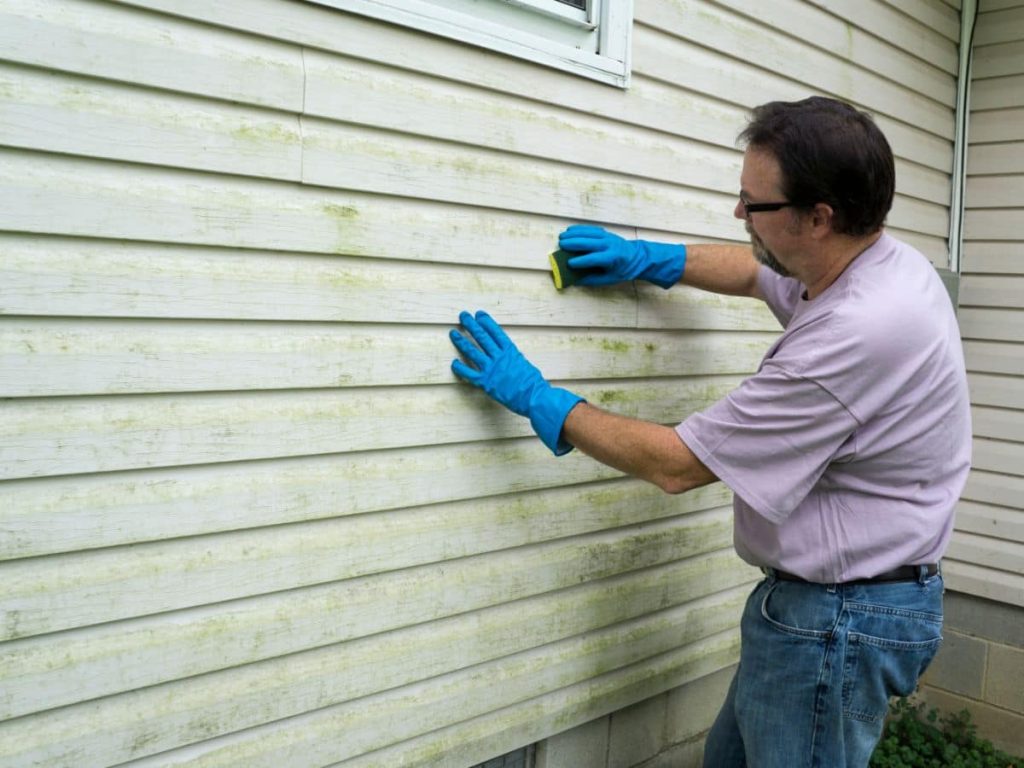
With the exterior surfaces clean, it’s time to scrape any rough areas to remove paint residuals and smooth the rough spots using a scraper or wire brush. Sanding these areas helps create a smooth surface for the new paint and helps avoid uneven texture and color.
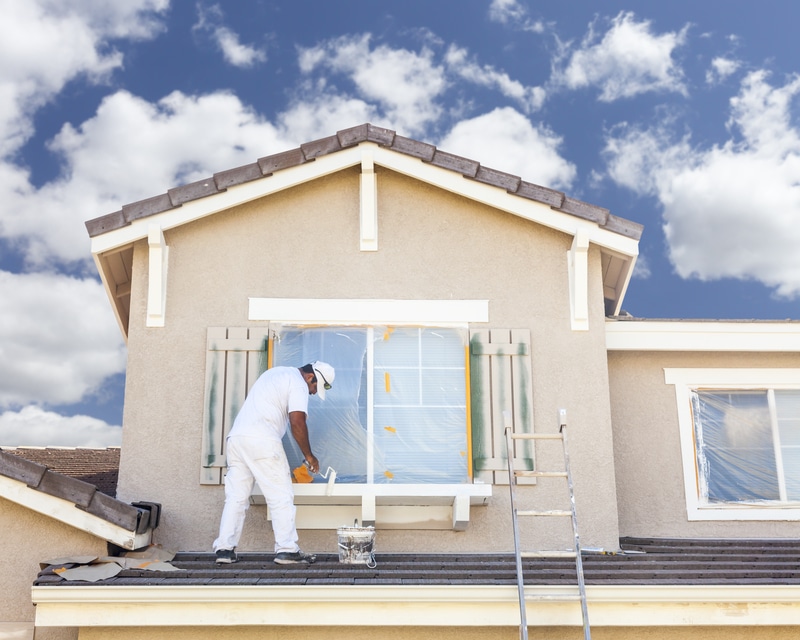
Before you start painting, use painter’s tape to mask off windows and other areas you don’t want to paint. Cover the patios and nearby plants with drop cloths or tarps to catch paint drops and chips.
A primer seals the surface, creating a uniform base for the paint. Applying a primer is crucial, especially for bare wood, surfaces with stains, or patched areas. A good primer helps ensure a durable, smooth finish and gives a strong and even foundation for your paint job.
Mistakes can happen during the preparation process. Let’s examine some of the most common painting prep mistakes homeowners should avoid.
Homeowners often ignore the weather forecast when planning a painting project. Painting in hot temperatures or high humidity can lead to poor paint adhesion, bubbling, and uneven finishes. Before painting, check the forecast and schedule your painting project during calm, dry weather.
Another common mistake homeowners make is skipping primer. The paint may peel, flake, or display uneven color without a primer, especially on bare wood or stained surfaces. Do not skip applying the primer to ensure a beautiful, long-lasting finish.
Taking shortcuts and cutting corners can produce an unsightly outcome, requiring you to redo the painting project. Proper prep work, on the other hand, lays the foundation for a seamless painting project with desirable results.
You’ll avoid headaches and expenses later by investing time and effort into thorough preparation.
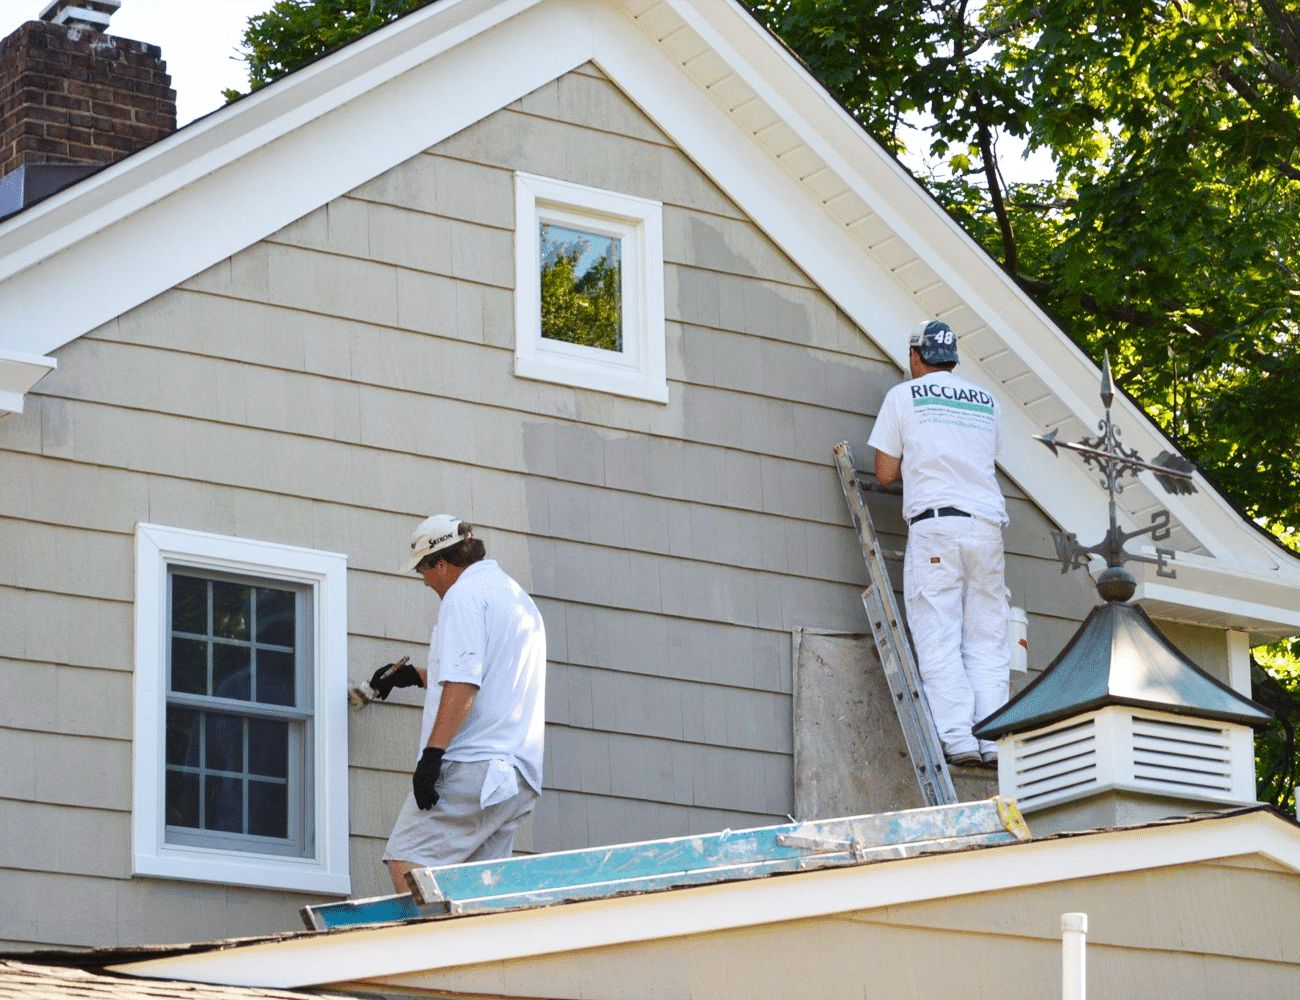
Many homeowners find home exterior painting projects challenging and laborious. That’s why hiring a painting contractor can be a wise decision. A professional painter brings convenience, safety, and precision to the table, ensuring the painting is done efficiently and effectively.
Experienced painters follow a proven home painting checklist, using high-quality materials to last, provide excellent color retention, and achieve the desired exterior painting results.
Knowing how to prepare your home’s exterior for painting is essential for your DIY home improvement projects. However, hiring a painting contractor will save you time and effort during prep, avoid potential hazards, and enjoy a professionally painted home exterior.
DIY projects on how to prepare your home’s exterior for painting involve a series of crucial steps. By following these steps and incorporating valuable house painting tips, you’ll achieve a flawless finish that enhances your home’s curb appeal.
Whether painting during warmer weeks or taking advantage of the mild weather, thorough preparation is the key to a good paint job result.
Transform your home’s exterior with confidence! Contact Storm Guard today for professional painting services. Let our team handle every detail, from prep work to the final brushstroke.


Unless otherwise noted, each use of "Storm Guard," “us,” “we,” or “our” throughout Stormguardrc.com collectively refers to both the Storm Guard brand and the Storm Guard Franchise System, which is made up almost exclusively of independently owned and operated franchise locations.